目录
- 1、首先配置好路由地址
- 2、然后实现页面入口
- 3、然后实现AAAAAA和BBBBBB页面
有时遇到一些需求,需要实现左边侧边栏为父级菜单,右侧内容区的顶部为子级菜单,以及其底部为子级菜单对应的模块内容。
如此,简单实现如下:
1、首先配置好路由地址
【如:/src/router/index.ts】
import { createRouter, createWebHashHistory, RouteRecordRaw } from \’vue-router\’
const routes: Array<RouteRecordRaw> = [
{
path: \’/\’,
redirect: \’/xxxxxx\’
},
{
path: \’/xxxxxx\’,
name: \’帅龍之龍\’,
component: () => import(\’@/views/XXXXXX/index.vue\’),
children: [
{
path: \’/xxxxxx/aaaaaa\’,
name: \’赤龍神帝\’,
components: { AAAAAA: () => import(\’@/views/XXXXXX/AAAAAA/index.vue\’) },
children: []
},
{
path: \’/xxxxxx/bbbbbb\’,
name: \’待定栏目\’,
components: { BBBBBB: () => import(\’@/views/XXXXXX/BBBBBB/index.vue\’) },
children: [],
},
]
}
]
const router = createRouter({
history: createWebHashHistory(),
routes
})
export default router
2、然后实现页面入口
【如:/src/views/XXXXXX/index.vue】
<template>
<div class=\”index-page\”>
<div class=\”index-page-navbar\”>
<div class=\”index-page-navbar-item\” :class=\”activePage == \’AAAAAA\’ ? \’index-page-navbar-active\’ : \’\’\” @click=\”handleNavbarItemClick(\’AAAAAA\’)\”>
<span>赤龍神帝</span>
</div>
<div class=\”index-page-navbar-item\” :class=\”activePage == \’BBBBBB\’ ? \’index-page-navbar-active\’ : \’\’\” @click=\”handleNavbarItemClick(\’BBBBBB\’)\”>
<span>待定栏目</span>
</div>
</div>
<div class=\”index-page-content\”>
<router-view name=\”AAAAAA\” v-if=\”activePage == \’AAAAAA\’\” />
<router-view name=\”BBBBBB\” v-if=\”activePage == \’BBBBBB\’\” />
</div>
</div>
</template>
<script>
export default {
data () {
return {
// 当前激活的页面
activePage: \’\’,
}
},
watch: {
},
created() {
this.init()
},
mounted() {
// 设置页面标题
document.title = \’帅龍之龍\’
},
methods: {
/**
* 获取初始化参数
*/
async init() {
this.activePage = \’AAAAAA\’
const query = this.$route.query
this.handleMatchRouter(this.activePage)
},
/**
* 激活页面句柄
*/
handleActivePageChange(activePage) {
// 点击 el-tab 页面时,将 this.$route.query 置为 {}
this.$route.query = {}
this.handleMatchRouter(activePage)
},
/**
* 激活页面句柄
*/
handleMatchRouter(activePage) {
const path = this.$route.path
const b = path.toLowerCase().includes(activePage.toLowerCase())
if (activePage == \’AAAAAA\’) {
if (!b) {
this.$router.push({
path: \’/xxxxxx/aaaaaa\’,
query: this.$route.query,
})
}
} else if (activePage == \’BBBBBB\’) {
if (!b) {
this.$router.push({
path: \’/xxxxxx/bbbbbb\’,
query: this.$route.query,
})
}
}
},
/**
* 点击侧边导航栏
*/
handleNavbarItemClick(item) {
this.activePage = item
this.$route.query = {}
this.handleMatchRouter(item)
},
}
}
</script>
<style lang=\”less\” scoped>
.index-page {
display: flex;
flex-direction: row;
width: 100%;
height: 100%;
position: relative;
background-color: #fff;
.index-page-navbar {
flex: none;
width: 40px;
height: 100%;
border-right: 1px solid #dfe1e6;
.index-page-navbar-item {
display: grid;
width: 100%;
height: 150px;
background-color: #fff;
border-bottom: 1px solid #dfe1e6;
writing-mode: tb-rl;
text-align: center;
align-items: center;
user-select: none;
cursor: pointer;
transition: all ease 0.3s;
span {
color: #303133;
font-size: 14px;
letter-spacing: 1.5px;
}
}
.index-page-navbar-active {
background-color: #5e7ce0;
span {
color: #fff;
}
}
}
.index-page-content {
flex: 1;
position: relative;
height: 100%;
margin: 0;
padding: 0;
overflow: hidden;
}
}
</style>
3、然后实现AAAAAA和BBBBBB页面
【如:/src/views/XXXXXX/AAAAAA/index.vue /src/views/XXXXXX/BBBBBB/index.vue】
<template>
<div style=\”width: 100%; height: 100%; display: grid; align-items: center; text-align: center\”>
<span style=\”color: #303133; font-size: 14px;\”>HelloWorld!…</span>
</div>
</template>
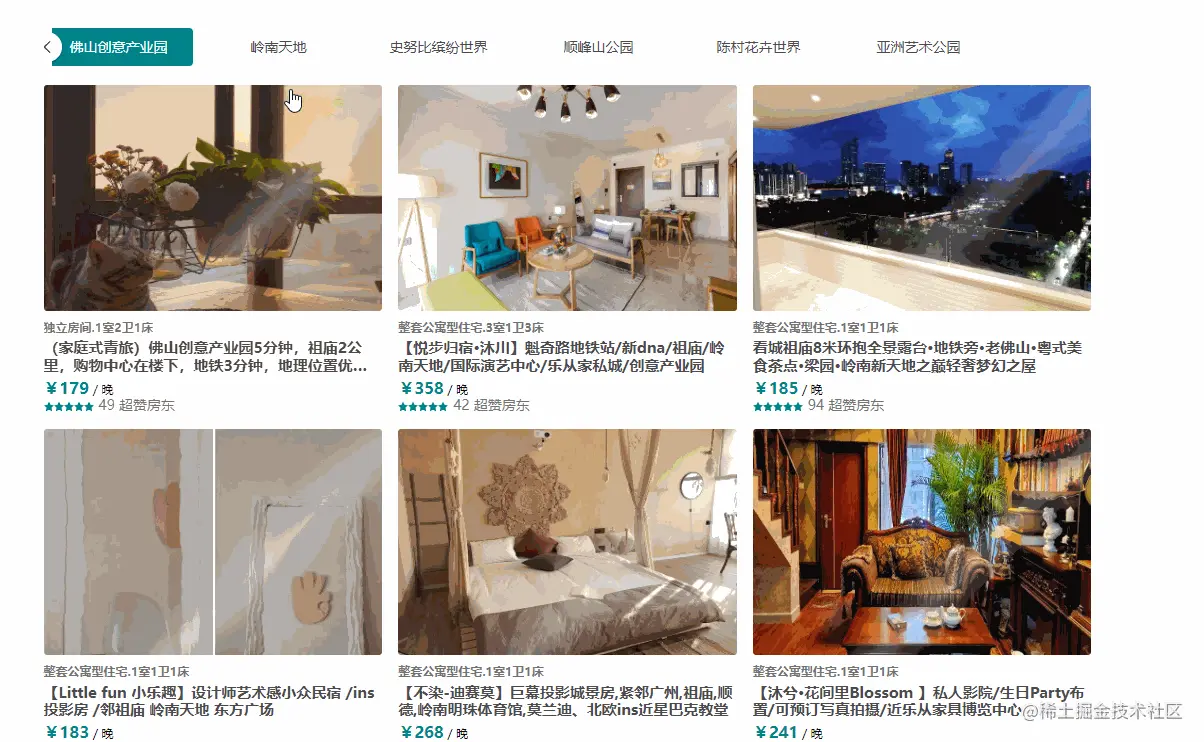
4、效果如下:~

到此这篇关于Vue3实现简约型侧边栏的示例代码的文章就介绍到这了,更多相关Vue3 侧边栏内容请搜索悠久资源网以前的文章或继续浏览下面的相关文章希望大家以后多多支持悠久资源网!
您可能感兴趣的文章:
- Vue-element-admin平台侧边栏收缩控制问题
- vue框架实现将侧边栏完全隐藏
- vue实现多级侧边栏的封装
- VuePress侧边栏的具体使用
- vue设置导航栏、侧边栏为公共页面的例子
- vue实现侧边栏导航效果
- vue侧边栏动态生成下级菜单的方法