目录
- 安装包准备
- 下载nginx安装包
- 下载正向代理模块的包
- 版本与模块对照表
- 部署nginx服务
- 上传nginx包和正向模块包
- 配置正向代理
- 创建nginx用户
- 检查nginx配置并启动
- nginx服务所在服务器验证正向代理功能
- 配置不能访问外网的服务器(即内网服务器),使其可以访问外网
- liunx服务器配置
- windows服务器配置
- 验证不能访问外网的服务器(即内网服务器),使用代理上网
nginx正向代理http,nginx正向代理https
- 正向代理,指的是通过代理服务器 代理浏览器/客户端去重定向请求访问到目标服务器 的一种代理服务。正向代理服务的特点是代理服务器 代理的对象是浏览器/客户端,也就是对于目标服务器 来说浏览器/客户端是隐藏的。
- nginx默认支持正向代理http,不支持https
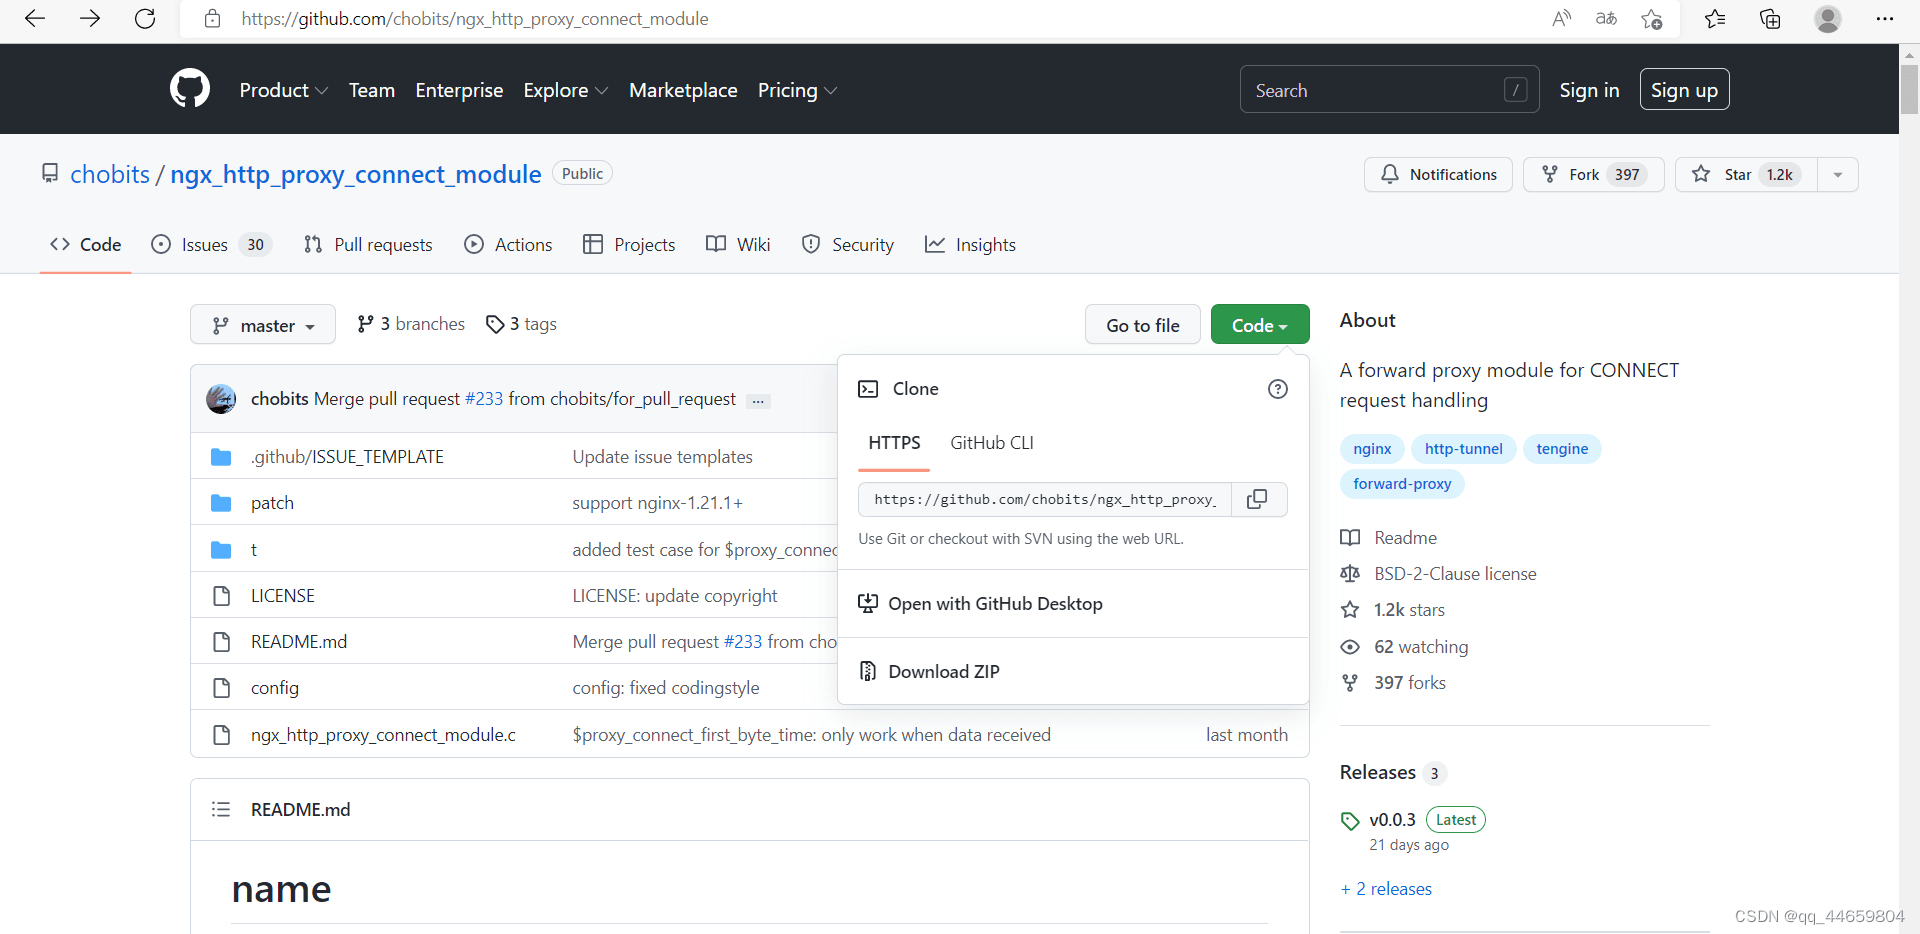
- nginx官方并不支持直接转发https请求,nginx支持https需要ngx_http_proxy_connect_module模块。github上开源了模块 https://github.com/chobits/ngx_http_proxy_connect_module。不过维护的ngx_http_proxy_connect_module模块的补丁也是有nginx版本限制的,需根据自身使用的nginx版本选择相应的正向代理模块。可以在REDEME.md的Select patch中查看nginx版本和模块的对应关系
安装包准备
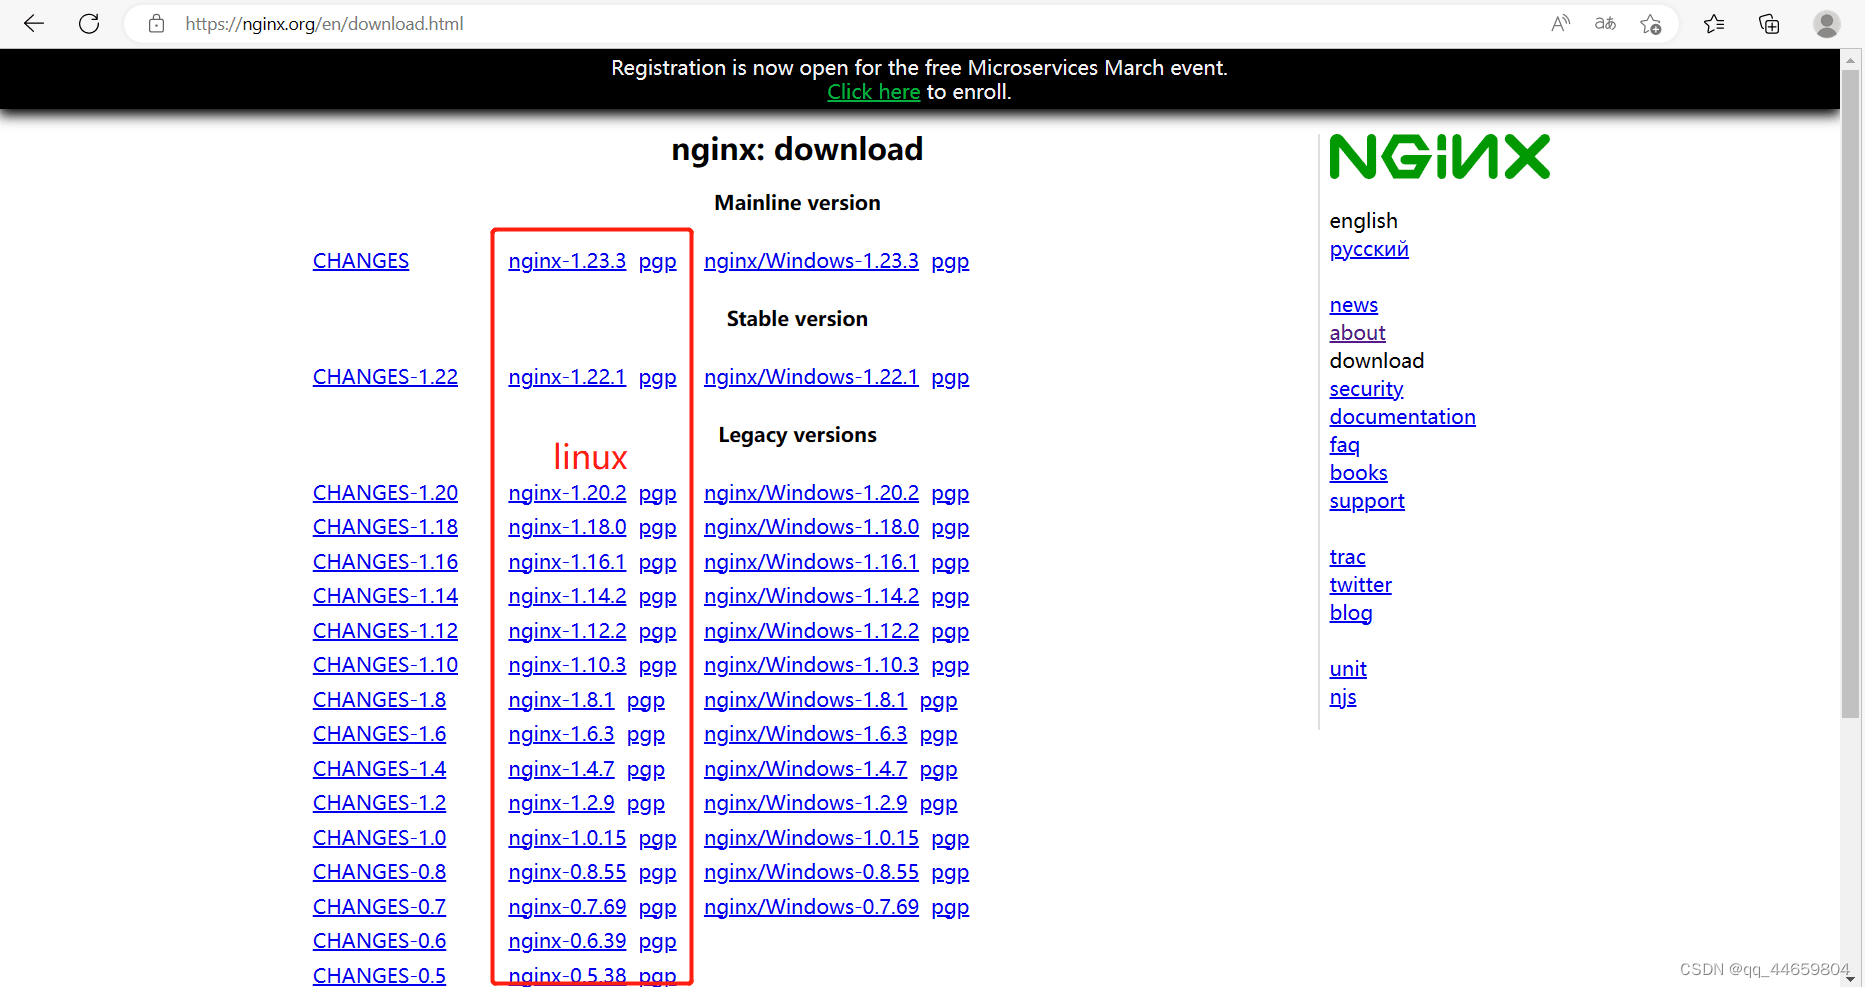
下载nginx安装包
下载地址
下载正向代理模块的包
下载地址

版本与模块对照表

部署nginx服务
此处使用的是nginx-1.20.2,对应proxy_connect_rewrite_1018.patch
上传nginx包和正向模块包
mkdir /nginx
cd /nginx
[root@mysql nginx]# ll
-rw-r–r– 1 root root 1062124 Feb 12 15:23 nginx-1.20.2.tar.gz
-rw-r–r– 1 root root 57926 Feb 12 15:23 ngx_http_proxy_connect_module-master.zip
解压,改名
tar -xf nginx.tar.gz
unzip ngx_http_proxy_connect_module-master.zip
ll
drwxr-xr-x 9 1001 1001 4096 Feb 12 15:27 nginx-1.20.2
-rw-r–r– 1 root root 1062124 Feb 12 15:23 nginx-1.20.2.tar.gz
drwxr-xr-x 5 root root 4096 Feb 9 16:54 ngx_http_proxy_connect_module-master
-rw-r–r– 1 root root 57926 Feb 12 15:23 ngx_http_proxy_connect_module-master.zip
mv ngx_http_proxy_connect_module-master ngx_http_proxy_connect_module
ll
drwxr-xr-x 9 1001 1001 4096 Feb 12 15:27 nginx-1.20.2
-rw-r–r– 1 root root 1062124 Feb 12 15:23 nginx-1.20.2.tar.gz
drwxr-xr-x 5 root root 4096 Feb 9 16:54 ngx_http_proxy_connect_module
-rw-r–r– 1 root root 57926 Feb 12 15:23 ngx_http_proxy_connect_module-master.zip
安装nginx
yum -y install make gcc openssl openssl-devel pcre-devel zlib zlib-devel
cd nginx-1.20.2
ll
drwxr-xr-x 6 1001 1001 4096 Feb 12 15:20 auto
-rw-r–r– 1 1001 1001 312251 Nov 16 2021 CHANGES
-rw-r–r– 1 1001 1001 476577 Nov 16 2021 CHANGES.ru
drwxr-xr-x 2 1001 1001 4096 Feb 12 15:20 conf
-rwxr-xr-x 1 1001 1001 2590 Nov 16 2021 configure
drwxr-xr-x 4 1001 1001 4096 Feb 12 15:20 contrib
drwxr-xr-x 2 1001 1001 4096 Feb 12 15:20 html
-rw-r–r– 1 1001 1001 1397 Nov 16 2021 LICENSE
drwxr-xr-x 2 1001 1001 4096 Feb 12 15:20 man
-rw-r–r– 1 1001 1001 49 Nov 16 2021 README
drwxr-xr-x 9 1001 1001 4096 Feb 12 15:20 src
# 查看正向代理模块proxy_connect_rewrite_1018.patch的位置
ll ../ngx_http_proxy_connect_module/patch/
-rw-r–r– 1 root root 9849 Feb 9 16:54 proxy_connect_1014.patch
-rw-r–r– 1 root root 9697 Feb 9 16:54 proxy_connect.patch
-rw-r–r– 1 root root 9408 Feb 9 16:54 proxy_connect_rewrite_1014.patch
-rw-r–r– 1 root root 9505 Feb 9 16:54 proxy_connect_rewrite_101504.patch
-rw-r–r– 1 root root 9496 Feb 9 16:54 proxy_connect_rewrite_1015.patch
-rw-r–r– 1 root root 9553 Feb 9 16:54 proxy_connect_rewrite_1018.patch
-rw-r–r– 1 root root 9306 Feb 9 16:54 proxy_connect_rewrite_102101.patch
-rw-r–r– 1 root root 9337 Feb 9 16:54 proxy_connect_rewrite.patch
# 导入模块 后面为模块路径
patch -p1 < /nginx/ngx_http_proxy_connect_module/patch/proxy_connect_rewrite_1018.patch
# 编译
./configure –add-module=/nginx/ngx_http_proxy_connect_module
# 安装,默认安装在/usr/local/nginx/
make && make install
# 查看nginx
ll /usr/local/nginx/
drwx—— 2 nobody root 4096 Feb 12 15:47 client_body_temp
drwxr-xr-x 2 root root 4096 Feb 12 15:46 conf
drwx—— 2 nobody root 4096 Feb 12 15:47 fastcgi_temp
drwxr-xr-x 2 root root 4096 Feb 12 15:28 html
drwxr-xr-x 2 root root 4096 Feb 12 15:47 logs
drwx—— 2 nobody root 4096 Feb 12 15:47 proxy_temp
drwxr-xr-x 2 root root 4096 Feb 12 15:33 sbin
drwx—— 2 nobody root 4096 Feb 12 15:47 scgi_temp
drwx—— 2 nobody root 4096 Feb 12 15:47 uwsgi_temp
配置正向代理
cd /usr/local/nginx/
#gzip on;下添加
vim conf/nginx.conf
#gzip on;
#正向代理转发http请求
server {
#指定DNS服务器IP地址
resolver 114.114.114.114;
#监听80端口,http默认端口80
listen 80;
#服务器IP或域名
server_name localhost;
#正向代理转发http请求
location / {
proxy_pass http://$host$request_uri;
proxy_set_header HOST $host;
proxy_buffers 256 4k;
proxy_max_temp_file_size 0k;
proxy_connect_timeout 30;
proxy_send_timeout 60;
proxy_read_timeout 60;
proxy_next_upstream error timeout invalid_header http_502;
}
}
#正向代理转发https请求
server {
#指定DNS服务器IP地址
resolver 114.114.114.114;
#监听443端口,https默认端口443
listen 443;
#正向代理转发https请求
proxy_connect;
proxy_connect_allow 443 563;
proxy_connect_connect_timeout 10s;
proxy_connect_read_timeout 10s;
proxy_connect_send_timeout 10s;
location / {
proxy_pass http://$host;
proxy_set_header Host $host;
}
}
创建nginx用户
nginx服务以用户nginx身份启动
useradd nginx
检查nginx配置并启动
sbin/nginx -t
sbin/nginx
ss -utnlp | grep nginx
tcp LISTEN 0 511 *:443 *:* users:((\”nginx\”,pid=6645,fd=7),(\”nginx\”,pid=6644,fd=7))
tcp LISTEN 0 511 *:80 *:* users:((\”nginx\”,pid=6645,fd=6),(\”nginx\”,pid=6644,fd=6))
nginx服务所在服务器验证正向代理功能
curl -I http://www.baidu.com/ -v -x 127.0.0.1:80
curl -I https://www.baidu.com/ -v -x 127.0.0.1:443
curl -I http://www.baidu.com/ -v -x 127.0.0.1:80
* About to connect() to proxy 127.0.0.1 port 80 (#0)
* Trying 127.0.0.1…
* Connected to 127.0.0.1 (127.0.0.1) port 80 (#0)
> HEAD http://www.baidu.com/ HTTP/1.1
> User-Agent: curl/7.29.0
> Host: www.baidu.com
> Accept: */*
> Proxy-Connection: Keep-Alive
>
< HTTP/1.1 200 OK
HTTP/1.1 200 OK
< Server: nginx/1.20.2
Server: nginx/1.20.2
< Date: Sun, 12 Feb 2023 09:03:40 GMT
Date: Sun, 12 Feb 2023 09:03:40 GMT
< Content-Type: text/html
Content-Type: text/html
< Content-Length: 277
Content-Length: 277
< Connection: keep-alive
Connection: keep-alive
< Accept-Ranges: bytes
Accept-Ranges: bytes
< Cache-Control: private, no-cache, no-store, proxy-revalidate, no-transform
Cache-Control: private, no-cache, no-store, proxy-revalidate, no-transform
< Etag: \”575e1f60-115\”
Etag: \”575e1f60-115\”
< Last-Modified: Mon, 13 Jun 2016 02:50:08 GMT
Last-Modified: Mon, 13 Jun 2016 02:50:08 GMT
< Pragma: no-cache
Pragma: no-cache
<
* Connection #0 to host 127.0.0.1 left intact
curl -I https://www.baidu.com/ -v -x 127.0.0.1:443
* About to connect() to proxy 127.0.0.1 port 443 (#0)
* Trying 127.0.0.1…
* Connected to 127.0.0.1 (127.0.0.1) port 443 (#0)
* Establish HTTP proxy tunnel to www.baidu.com:443
> CONNECT www.baidu.com:443 HTTP/1.1
> Host: www.baidu.com:443
> User-Agent: curl/7.29.0
> Proxy-Connection: Keep-Alive
>
< HTTP/1.1 200 Connection Established
HTTP/1.1 200 Connection Established
< Proxy-agent: nginx
Proxy-agent: nginx
<
* Proxy replied OK to CONNECT request
* Initializing NSS with certpath: sql:/etc/pki/nssdb
* CAfile: /etc/pki/tls/certs/ca-bundle.crt
CApath: none
* SSL connection using TLS_ECDHE_RSA_WITH_AES_128_GCM_SHA256
* Server certificate:
* subject: CN=baidu.com,O=\”Beijing Baidu Netcom Science Technology Co., Ltd\”,OU=service operation department,L=beijing,ST=beijing,C=CN
* start date: Jul 05 05:16:02 2022 GMT
* expire date: Aug 06 05:16:01 2023 GMT
* common name: baidu.com
* issuer: CN=GlobalSign RSA OV SSL CA 2018,O=GlobalSign nv-sa,C=BE
> HEAD / HTTP/1.1
> User-Agent: curl/7.29.0
> Host: www.baidu.com
> Accept: */*
>
< HTTP/1.1 200 OK
HTTP/1.1 200 OK
< Accept-Ranges: bytes
Accept-Ranges: bytes
< Cache-Control: private, no-cache, no-store, proxy-revalidate, no-transform
Cache-Control: private, no-cache, no-store, proxy-revalidate, no-transform
< Connection: keep-alive
Connection: keep-alive
< Content-Length: 277
Content-Length: 277
< Content-Type: text/html
Content-Type: text/html
< Date: Sun, 12 Feb 2023 09:03:40 GMT
Date: Sun, 12 Feb 2023 09:03:40 GMT
< Etag: \”575e1f60-115\”
Etag: \”575e1f60-115\”
< Last-Modified: Mon, 13 Jun 2016 02:50:08 GMT
Last-Modified: Mon, 13 Jun 2016 02:50:08 GMT
< Pragma: no-cache
Pragma: no-cache
< Server: bfe/1.0.8.18
Server: bfe/1.0.8.18
<
* Connection #0 to host 127.0.0.1 left intact
配置不能访问外网的服务器(即内网服务器),使其可以访问外网
liunx服务器配置
1.只配置使用yum时,能够使用正向代理访问外网
#追加配置
vim /etc/yum.conf
proxy=http://192.168.0.20:80 #nginx正向代理服务器的地址
proxy=ftp://192.168.0.20:80 #nginx正向代理服务器的地址
2.只配置使用wget时,能够使用正向代理访问外网
#追加配置
vim /etc/wgetrc
http_proxy=192.168.0.20:80 #nginx正向代理服务器的地址
http_proxy=192.168.0.20:443 #nginx正向代理服务器的地址
3.全局配置,所以访问请求都能够使用正向代理访问外网
#追加配置
vim /etc/profile
http_proxy=192.168.0.20:80
https_proxy=192.168.0.20:443
ftp_proxy=192.168.0.20:443
export http_proxy
export https_proxy
export ftp_proxy
# 加载配置
source /etc/profile
windows服务器配置

验证不能访问外网的服务器(即内网服务器),使用代理上网
curl -I http://www.baidu.com
curl -I https://www.baidu.com
curl -I http://www.baidu.com
HTTP/1.1 200 OK
Server: nginx/1.20.2
Date: Sun, 12 Feb 2023 09:31:03 GMT
Content-Type: text/html
Content-Length: 277
Connection: keep-alive
Accept-Ranges: bytes
Cache-Control: private, no-cache, no-store, proxy-revalidate, no-transform
Etag: \”575e1f60-115\”
Last-Modified: Mon, 13 Jun 2016 02:50:08 GMT
Pragma: no-cache
curl -I https://www.baidu.com
HTTP/1.1 200 Connection Established
Proxy-agent: nginx
HTTP/1.1 200 OK
Accept-Ranges: bytes
Cache-Control: private, no-cache, no-store, proxy-revalidate, no-transform
Connection: keep-alive
Content-Length: 277
Content-Type: text/html
Date: Sun, 12 Feb 2023 09:31:07 GMT
Etag: \”575e1f60-115\”
Last-Modified: Mon, 13 Jun 2016 02:50:08 GMT
Pragma: no-cache
Server: bfe/1.0.8.18
到此这篇关于nginx正向代理的配置和使用教程的文章就介绍到这了,更多相关nginx正向代理内容请搜索悠久资源以前的文章或继续浏览下面的相关文章希望大家以后多多支持悠久资源!