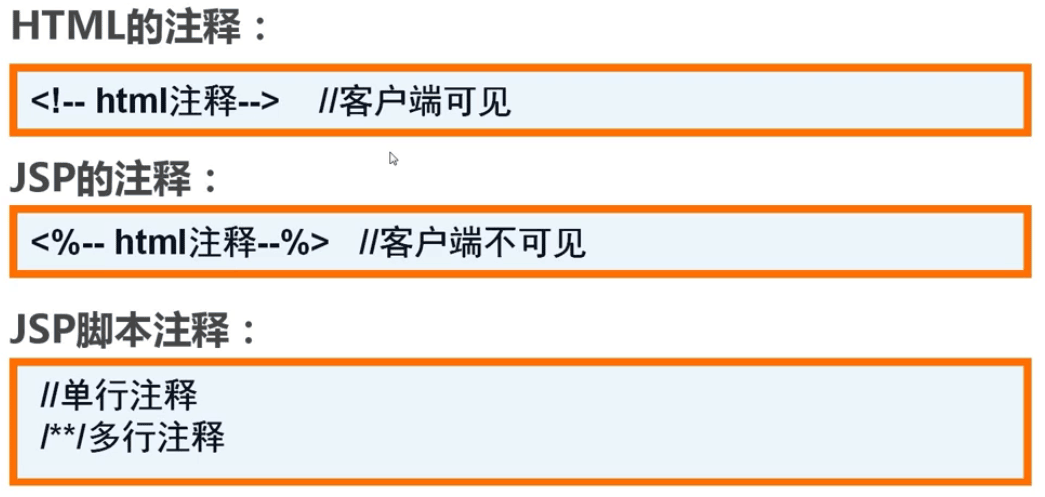
一 get和post的区别

二 实战(post方式提交)
1、login.jsp
<%@ page language=\”java\” import=\”java.util.*\” contentType=\”text/html; charset=utf-8\” %>
<%
String path = request.getContextPath();
String basePath = request.getScheme()+\”://\”+request.getServerName()+\”:\”+request.getServerPort()+path+\”/\”;
%>
<!DOCTYPE HTML PUBLIC \”-//W3C//DTD HTML 4.01 Transitional//EN\”>
<html>
<head>
<base href=\”<%=basePath%>\” rel=\”external nofollow\” rel=\”external nofollow\” >
<title>My JSP \’login.jsp\’ starting page</title>
<meta http-equiv=\”pragma\” content=\”no-cache\”>
<meta http-equiv=\”cache-control\” content=\”no-cache\”>
<meta http-equiv=\”expires\” content=\”0\”>
<meta http-equiv=\”keywords\” content=\”keyword1,keyword2,keyword3\”>
<meta http-equiv=\”description\” content=\”This is my page\”>
<!–
<link rel=\”stylesheet\” type=\”text/css\” href=\”styles.css\” rel=\”external nofollow\” rel=\”external nofollow\” >
–>
</head>
<body>
<h1>用户登录</h1>
<hr>
<form action=\”dologin.jsp\” name=\”loginForm\” method=\”post\”>
<table>
<tr>
<td>用户名:</td>
<td><input type=\”text\” name=\”username\”/></td>
</tr>
<tr>
<td>密码:</td>
<td><input type=\”password\” name=\”password\”/></td>
</tr>
<tr>
<td colspan=\”2\”><input type=\”submit\” value=\”登录\”></td>
</tr>
</table>
</form>
</body>
</html>
2、dologin.jsp
<%@ page language=\”java\” import=\”java.util.*\” contentType=\”text/html; charset=utf-8\”%>
<%
String path = request.getContextPath();
String basePath = request.getScheme()+\”://\”+request.getServerName()+\”:\”+request.getServerPort()+path+\”/\”;
%>
<!DOCTYPE HTML PUBLIC \”-//W3C//DTD HTML 4.01 Transitional//EN\”>
<html>
<head>
<base href=\”<%=basePath%>\” rel=\”external nofollow\” rel=\”external nofollow\” >
<title>My JSP \’dologin.jsp\’ starting page</title>
<meta http-equiv=\”pragma\” content=\”no-cache\”>
<meta http-equiv=\”cache-control\” content=\”no-cache\”>
<meta http-equiv=\”expires\” content=\”0\”>
<meta http-equiv=\”keywords\” content=\”keyword1,keyword2,keyword3\”>
<meta http-equiv=\”description\” content=\”This is my page\”>
<!–
<link rel=\”stylesheet\” type=\”text/css\” href=\”styles.css\” rel=\”external nofollow\” rel=\”external nofollow\” >
–>
</head>
<body>
<h1>登录成功</h1>
<hr>
</body>
</html>
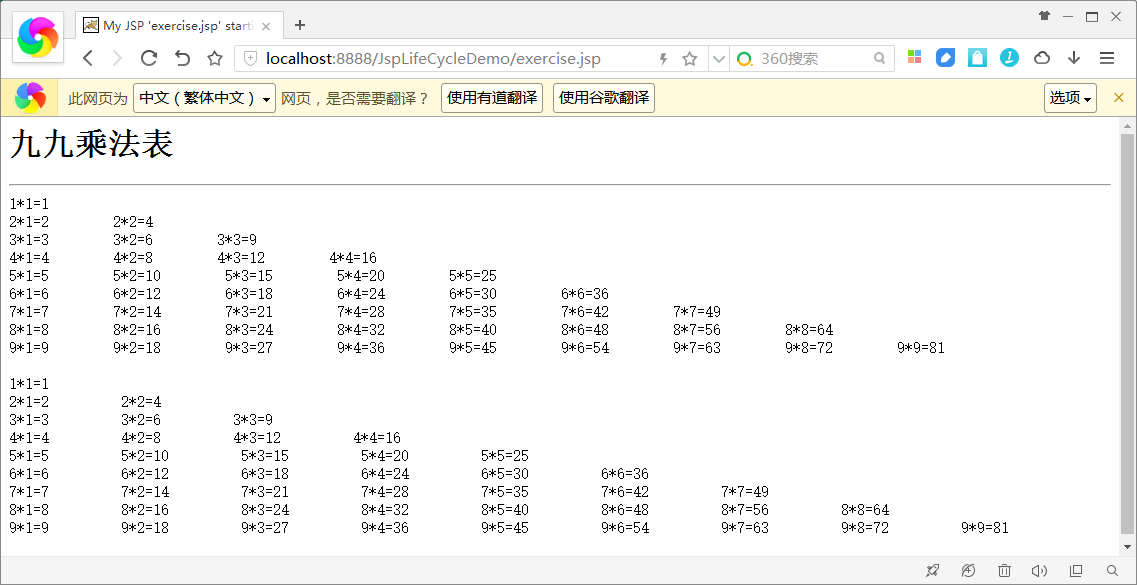
三 运行结果

如有疑问请留言或者到本站社区交流讨论,感谢阅读,希望能帮助到大家,谢谢大家对本站的支持!
您可能感兴趣的文章:
- 基于JavaScript实现带数据验证和复选框的表单提交
- JavaScript阻止表单提交方法(附代码)
- 使用AngularJS对表单提交内容进行验证的操作方法
- Nodejs之http的表单提交
- JS表单提交中onsubmit事件return的作用详解