<input type="file">也是 CSS 啃不动的一块骨头,如果实在看不惯原生的样式,一般的做法是把文件选择域设为透明那个,覆盖在其他元素。
<div class="am-form-group am-form-file">
<button type="button" class="am-btn am-btn-default am-btn-sm">
<i class="am-icon-cloud-upload"></i> 选择要上传的文件</button>
<input type="file" multiple>
</div>
<hr/>
<div class="am-form-group am-form-file">
<i class="am-icon-cloud-upload"></i> 选择要上传的文件
<input type="file" multiple>
</div>
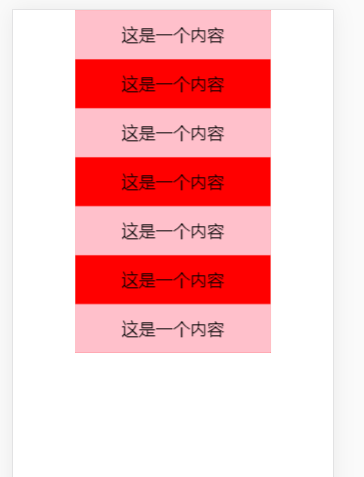
效果如下
![]()
但是官方给的方案一个问题在于,上传文件之后图标没有改变,也没有显示上传文件名的地方。
于是我做了一个小小的修改:加入一段js代码
$(\’input[type="file"]\’).change(function (event) {
var that = this;
var file = $(that)[0].files[0];
if(file){
$(that).prev().text(that.files[0].name);
$(that).attr({ \’src\’: window.URL.createObjectURL(that.files[0]) });
}
});
上传文件后

进一步的,如果传的是图片,我想预览上传的图片效果图呢。
那就再加一段小代码:
$(\’input[type="file"]\’).closest(\’div\’).hover(function(){
if($(this).find(\’input[type="file"]\’).attr(\’src\’)){
$(\’body\’).append(\'<div class="imgView" style="width: \’+$(this).find(\’button\’).css(\’width\’)+\’;top: \’+($(this).find(\’button\’).offset().top-210)+\’px;left: \’+$(this).find(\’button\’).offset().left+\’px;height: 200px;position: absolute;text-align: center;line-height: 200px;z-index: 99999;background-color: rgba(51, 51, 51,0.6);"><img style="max-width: 90%;max-height: 90%;" src="\’+$(this).find(\’input[type="file"]\’).attr(\’src\’)+\’"></div>\’)
}
},function(){
$(\’.imgView\’).remove();
});

当鼠标放上面就会自动显示上传图片的缩略图了。
转载于:https://my.oschina.net/u/3463305/blog/1504565
总结
到此这篇关于Amaze UI 文件选择域的示例代码的文章就介绍到这了,更多相关Amaze UI 文件选择域内容请搜索悠久资源网以前的文章或继续浏览下面的相关文章,希望大家以后多多支持悠久资源网!